$63.99
$120.94
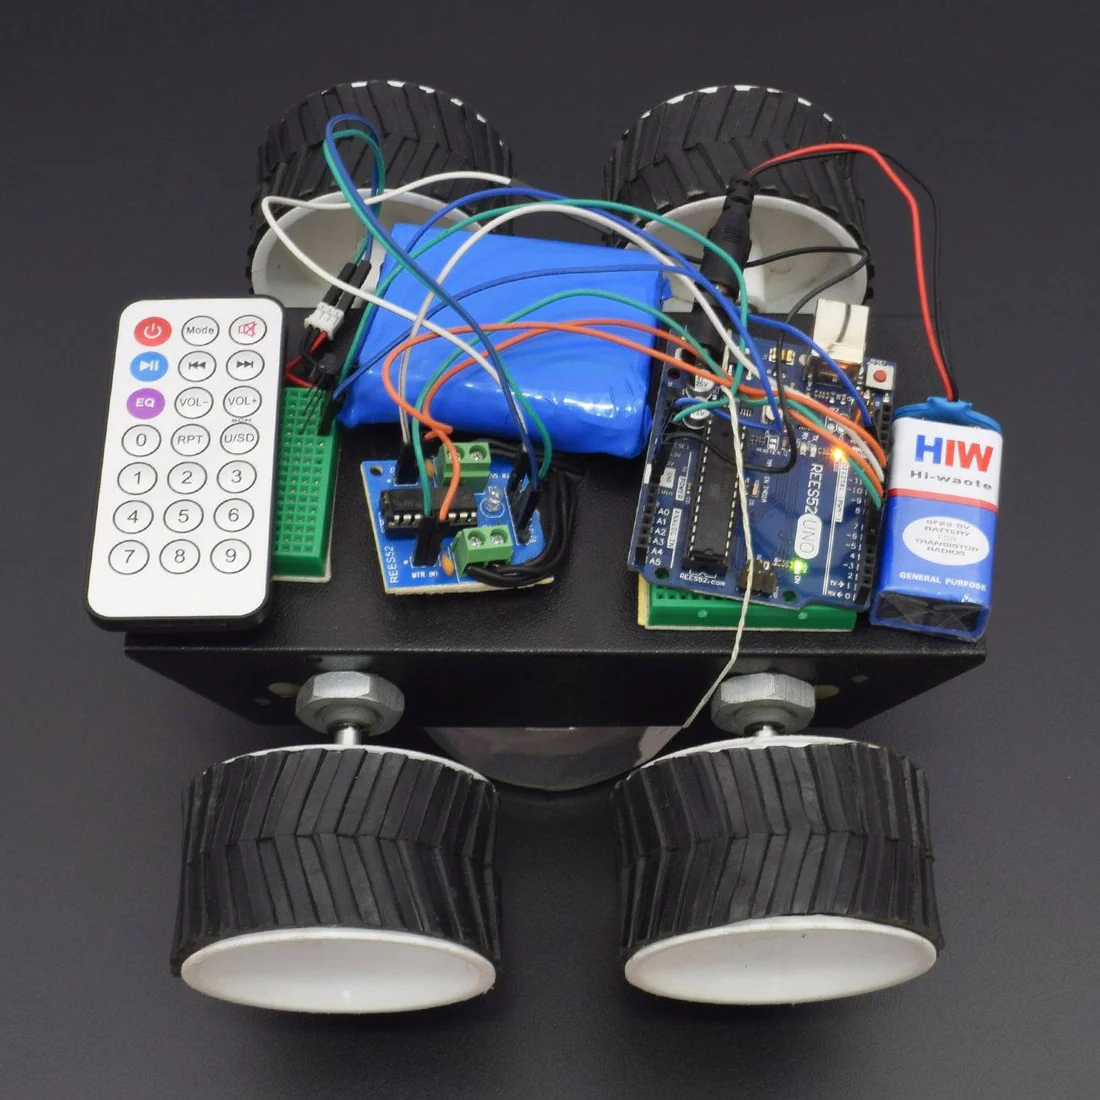
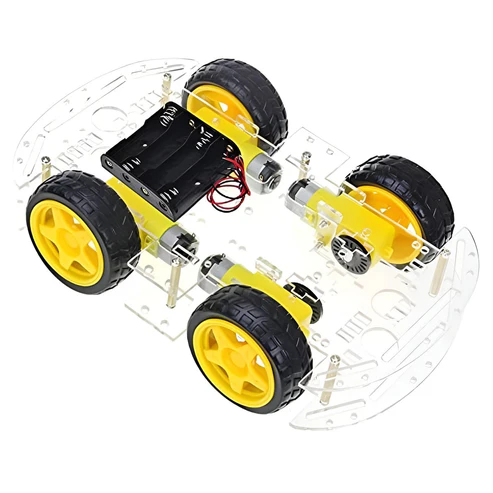
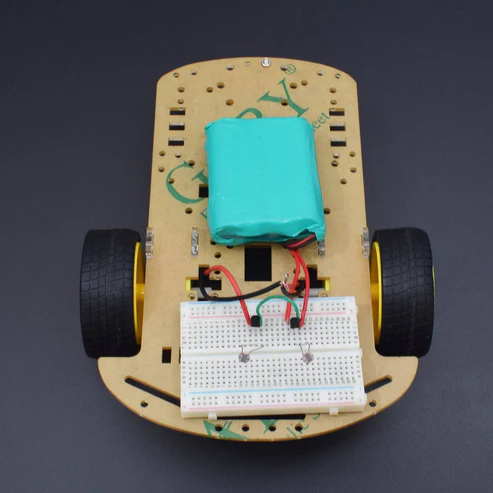
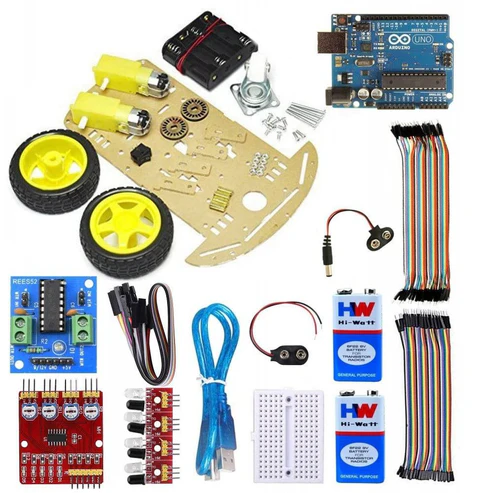
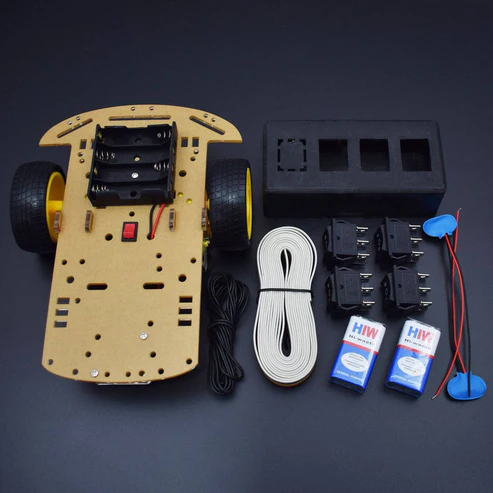
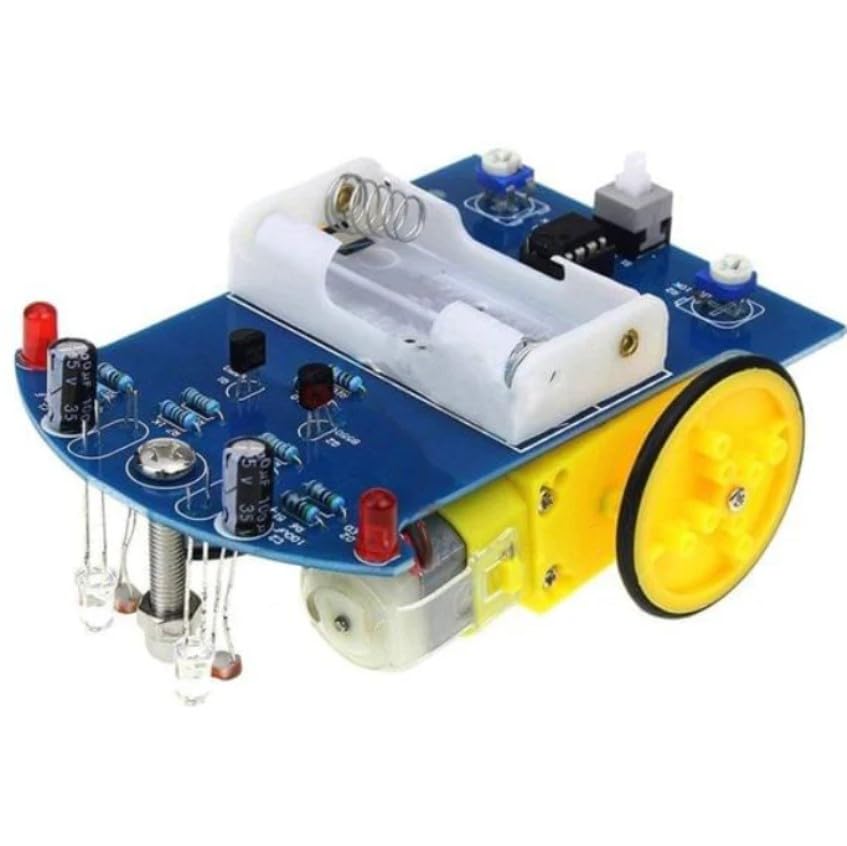
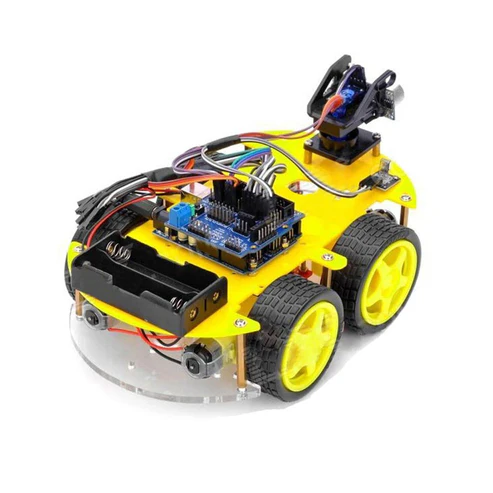
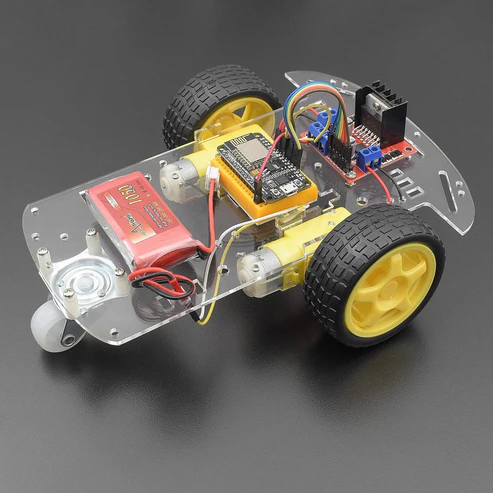
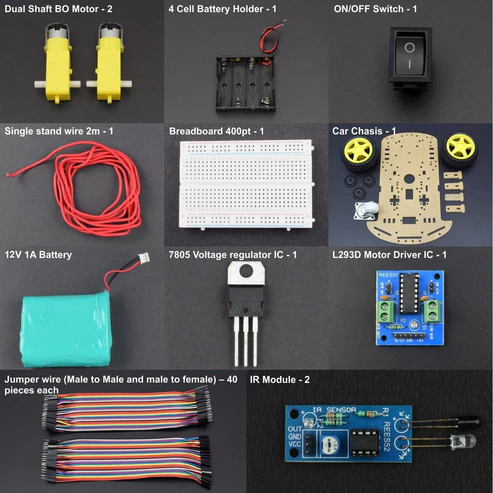
Introduction In this project, we will make an IoT based wireless Wi-fi robot car using the NodeMCU ESP8266-12e Wi-Fi board with the L298n Motor driver module. We will interface this Wi-fi Car with Mert Arduino application in which by entering the IP address, you can control by giving the directional command using the smartphone. HARDWARE REQUIRED Node MCU (esp82 66-12e v1.0) Wi-fi Board -1 L298N Motor driver Module -1 Jumper wires (male to male) – 20 pcs Jumper wires (male to female) – 20 pcs 170 pt. Breadboard -1 Micro USB cable-1 1050mah rechargeable battery Li-Po battery -1 (not included in the kit) 2-wheel car chassis kit -1 SOFTWARE REQUIRED Arduino IDE 1.8.10 (programmable platform for Arduino) Click To Download: https://www.arduino.cc/en/Main/Software SPECIFICATIONS L298N motor driver module The L298N is a dual-channel H-Bridge motor driver capable of driving a pair of DC motors. That means it can individually drive up to two motors making it ideal for building two-wheel robot platforms. NodeMCU ESP8266 CP2102 NodeMCU WIFI Serial Wireless Module ESP8266 CP2102 NodeMCU LUA ESP-12E WIFI Serial Wireless Module Built-in Micro-USB, with flash and reset switches, easy to program Full I/O port and Wireless 802.11 supported, direct download no need to reset Arduino compatible works great with the latest Arduino IDE/Mongoose IoT/Micro python LIBRARY & APPLICATION REQUIRED Before uploading the code, must install this library: Liquid Crystal – https://drive.google.com/open?id=14CpOZPTgmPcHedB1oDqeTVFI4eMwMcf7 RTClib – https://drive.google.com/open?id=1AxQfcdvPMK37FLtGTzzdTTGBCBBH58mX Wire – https://drive.google.com/open?id=1Ej-R75OikJAlHrj275zYvKNzDN3cm0zi After downloading all these libraries go to sketch -> include libraries -> add .zip libraries APPLICATION Mert Arduino for robot car https://drive.google.com/open?id=1K60pbblXTMkD7c6GsYpvLepKlQ2blL0k HOW TO INSTALL ESP BOARDS CIRCUIT CONNECTION Connect the ENA pin of the L298N Motor Driver module to D5 pin of the NodeMCU board. Connect ENB pin of L298N Motor Driver Module to D6 pin of NodeMCU board. Connect the IN1 pin of the L298n motor driver module to the D8 pin of the NodeMCU board. Connect the IN2 pin of the L298n motor driver module to the D7 pin of the NodeMCU board. Connect the IN3 pin of the L298n motor driver module to the D4 pin of the NodeMCU board. Connect the IN4 pin of the L298n motor driver module to the D3 pin of the NodeMCU board. Connect the GND pin of the L298n motor driver module to the GND pin of the NodeMCU board. Connect VCC pin of L298n motor driver module to Vin pin of NodeMCU board. CODE Before uploading the code, you need to check the IP address that we will enter in the application Mert Arduino Check IP address https://drive.google.com/open?id=1vAT2aV5I8pp43TyAiBd5Z4ZkGsRQ4gXd #include <ESP8266WiFi.h> WiFiClient client; WiFiServer server(80); const char* ssid = “YOUR SSID”; //enter your wi-fi user id const char* password = “YOUR PASSWORD”; //enter your wi-fi password void setup() { Serial.begin(115200); //select the baud rate in serial monitor connectWiFi(); server.begin(); } void loop() { } void connectWiFi() { Serial.println(“Connecting to WIFI”); WiFi.begin(ssid, password); while ((!(WiFi.status() == WL_CONNECTED))) { delay(300); Serial.print(“..”); } Serial.println(“”); Serial.println(“WiFi connected”); Serial.println(“NodeMCU Local IP is : “); //Ip address that you need to enter in the code Serial.print((WiFi.localIP())); } after uploading check out the serial monitor where you will get the IP address, now enter this Ip address to the application. Now, upload the main code https://drive.google.com/open?id=1XaUXA_IjslnF68XQNb8Xd4ab6fJFjiDB #include <ESP8266WiFi.h> WiFiClient client; WiFiServer server(80); /* WIFI settings */ const char* ssid = “YOUR SSID”; //enter your wi-fi user id const char* password = “YOUR PASSWORD”; //enter the wi-fi password /* data received from application */ String data =””; /* define L298N or L293D motor control pins */ int leftMotorForward = 2; /* GPIO2(D4) -> IN3 */ int rightMotorForward = 15; /* GPIO15(D8) -> IN1 */ int leftMotorBackward = 0; /* GPIO0(D3) -> IN4 */ int rightMotorBackward = 13; /* GPIO13(D7) -> IN2 */ /* define L298N or L293D enable pins */ int rightMotorENB = 14; /* GPIO14(D5) -> Motor-A Enable */ int leftMotorENB = 12; /* GPIO12(D6) -> Motor-B Enable */ void setup() { /* initialize motor control pins as output */ pinMode(leftMotorForward, OUTPUT); pinMode(rightMotorForward, OUTPUT); pinMode(leftMotorBackward, OUTPUT); pinMode(rightMotorBackward, OUTPUT); /* initialize motor enable pins as output */ pinMode(leftMotorENB, OUTPUT); pinMode(rightMotorENB, OUTPUT); /* start server communication */ server.begin(); } void loop() { /* If the server available, run the “checkClient” function */ client = server.available(); if (!client) return; data = checkClient (); /************************ Run function according to incoming data from application *************************/ /* If the incoming data is “forward”, run the “MotorForward” function */ if (data == “forward”) MotorForward(); /* If the incoming data is “backward”, run the “MotorBackward” function */ else if (data == “backward”) MotorBackward(); /* If the incoming data is “left”, run the “TurnLeft” function */ else if (data == “left”) TurnLeft(); /* If the incoming data is “right”, run the “TurnRight” function */ else if (data == “right”) TurnRight(); /* If the incoming data is “stop”, run the “MotorStop” function */ else if (data == “stop”) MotorStop(); } /********************************************* FORWARD *****************************************************/ void MotorForward(void) { digitalWrite(leftMotorENB,HIGH); digitalWrite(rightMotorENB,HIGH); digitalWrite(leftMotorForward,HIGH); digitalWrite(rightMotorForward,HIGH); digitalWrite(leftMotorBackward,LOW); digitalWrite(rightMotorBackward,LOW); } /********************************************* BACKWARD *****************************************************/ void MotorBackward(void) { digitalWrite(leftMotorENB,HIGH); digitalWrite(rightMotorENB,HIGH); digitalWrite(leftMotorBackward,HIGH); digitalWrite(rightMotorBackward,HIGH); digitalWrite(leftMotorForward,LOW); digitalWrite(rightMotorForward,LOW); } /********************************************* TURN LEFT *****************************************************/ void TurnLeft(void) { digitalWrite(leftMotorENB,HIGH); digitalWrite(rightMotorENB,HIGH); digitalWrite(leftMotorForward,LOW); digitalWrite(rightMotorForward,HIGH); digitalWrite(rightMotorBackward,LOW); digitalWrite(leftMotorBackward,HIGH); } /********************************************* TURN RIGHT *****************************************************/ void TurnRight(void) { digitalWrite(leftMotorENB,HIGH); digitalWrite(rightMotorENB,HIGH); digitalWrite(leftMotorForward,HIGH); digitalWrite(rightMotorForward,LOW); digitalWrite(rightMotorBackward,HIGH); digitalWrite(leftMotorBackward,LOW); } /********************************************* STOP *****************************************************/ void MotorStop(void) { digitalWrite(leftMotorENB,LOW); digitalWrite(rightMotorENB,LOW); digitalWrite(leftMotorForward,LOW); digitalWrite(leftMotorBackward,LOW); digitalWrite(rightMotorForward,LOW); digitalWrite(rightMotorBackward,LOW); } /********************************** RECEIVE DATA FROM the APP ******************************************/ String checkClient (void) { while(!client.available()) delay(1); String request = client.readStringUntil(‘\r’); request.remove(0, 5); request.remove(request.length()-9,9); return request; } WORKING AND OUTPUT After uploading the code, open the application. The wi-fi address for the phone and board should be the same. The operating system of the smart mobile phone in android we develop a remote control program. The program connected with wi-fi to communicate with the robot. Wireless control is the most important basic needs of all people. Wireless network-controlled robots use wi-fi modules. Arduino blue control android application will transmit command using wi-fi to the car so that it can move in the required direction like moving forward, reverse, turning left, turning right and stop. Click to watch the tutorial For more tutorials subscribe our channel REES52 on YouTube https://www.youtube.com/channel/UCKuJ1KCjJGat7PrdAcWtu5g
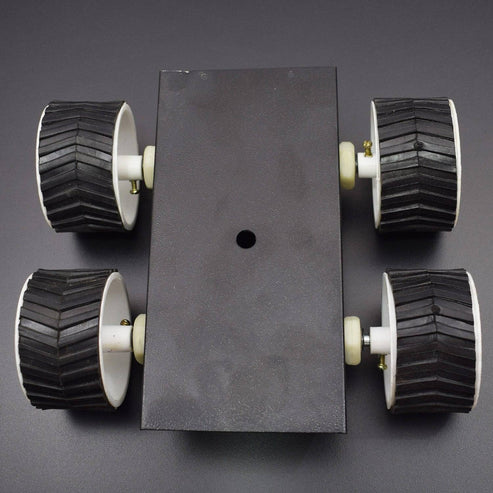
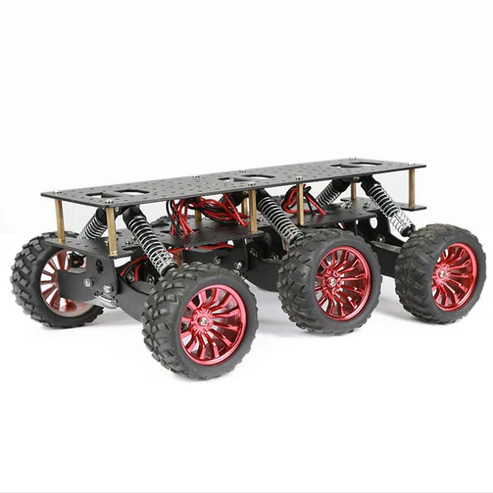
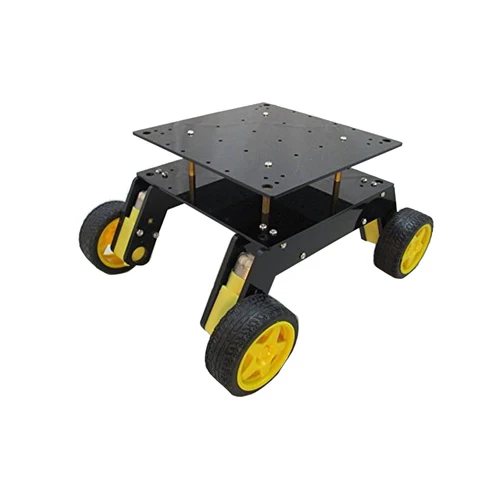
Robot Car Kits & Accessories